Luminosity Masks in Bree Photo
Note: Screenshots in this tutorial may show GIMP branding, but all menus, tool names, and keyboard shortcuts are identical in Bree Photo and the steps can be followed directly.
Luminosity masks are layer masks built around specific brightness ranges in an image. They are generated from the image’s own luminance information and are automatically feathered, so they blend adjustments without producing harsh edges.
This tutorial assumes you are already familiar with layer masks. If not, read the Layer Masks Tutorial first.
Creating a Base Luminosity Channel
- Duplicate the background layer:
Layer → Duplicate Layer. - Desaturate the duplicate:
Colors → Desaturate → Desaturate…, choosing Luminosity as the method.
This desaturated layer represents the image’s “Lights.” Next, save it as a channel.
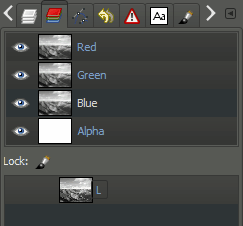
Open the Channels dialog: Windows → Dockable Dialogs → Channels.
Drag any one of the RGB channels (they are identical after desaturation) to the custom channel area at the bottom, then double-click it and rename it to L.
Creating the Dark Channel
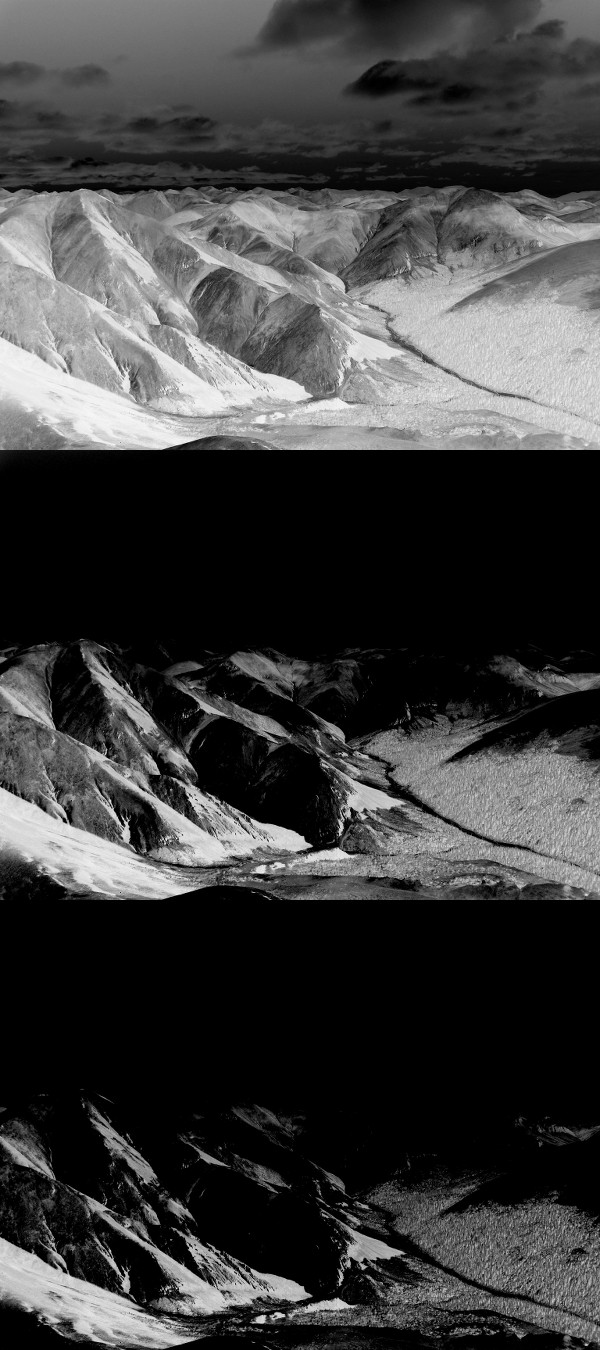
The dark channel is the inverse of the light channel.
- Select all:
Select → All. - In the Channels dialog, right-click the
Lchannel and choose Subtract from Selection. - Save the current selection as a channel:
Select → Save to Channel, and rename it toD.
Repeating the operation of subtracting L from the D selection produces darker channels DD and DDD:
Creating Brighter Channels
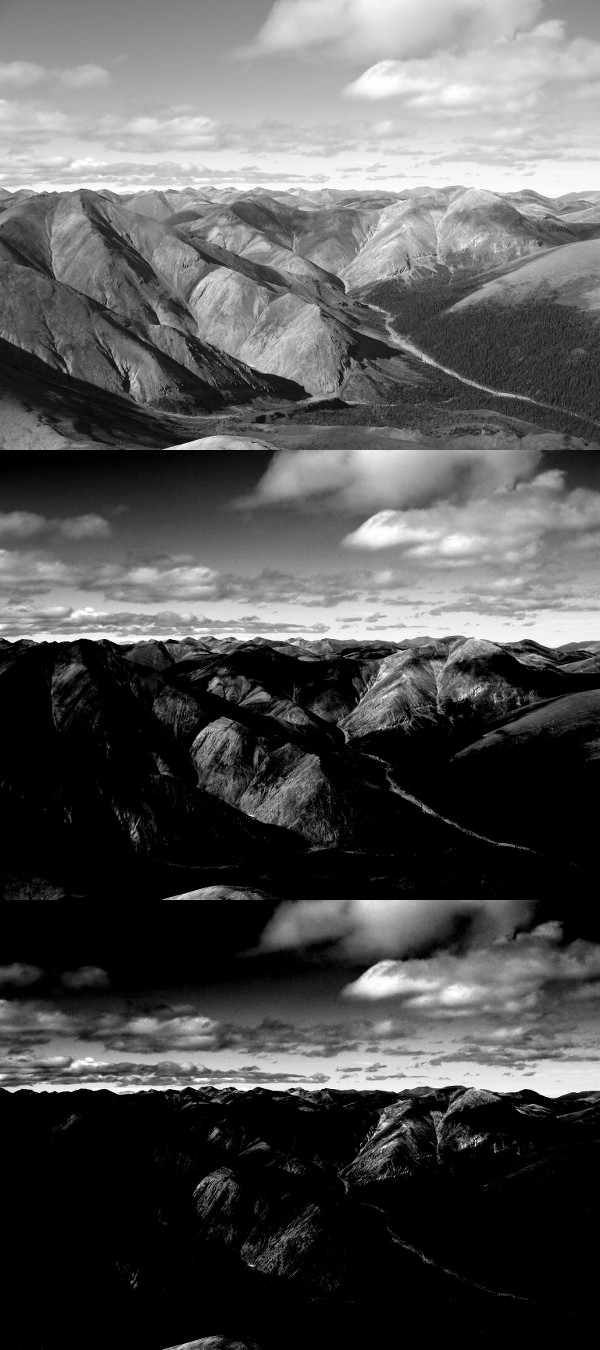
- Right-click the
Lchannel and choose Channel to Selection. - Subtract the
Dchannel from that selection: right-clickD→ Subtract from Selection. - Save it as the
LLchannel.
Repeat to obtain LLL:
Creating Midtone Channels
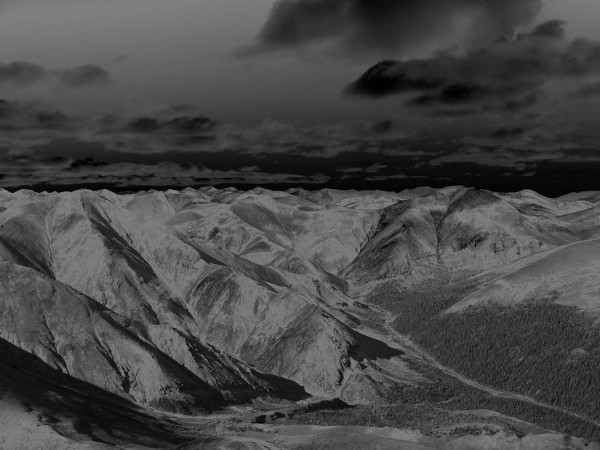
Midtone channels can be obtained by intersecting light and dark channels.
- Right-click
L→ Channel to Selection. - Right-click
D→ Intersect with Selection. - Save it as the
Mchannel.
Similarly, use LL/DD to get MM, and LLL/DDD to get MMM.
Using Luminosity Masks
Split Toning
- Duplicate the background layer and name it
Dark. - Add a mask to this layer:
Layer → Mask → Add Layer Mask…, set initialization to Channel, then choose theDDchannel. - Make sure the layer itself (not the mask) is selected, then choose
Colors → Colorizeand set Hue to about200to add a cool blue tone to the dark areas.
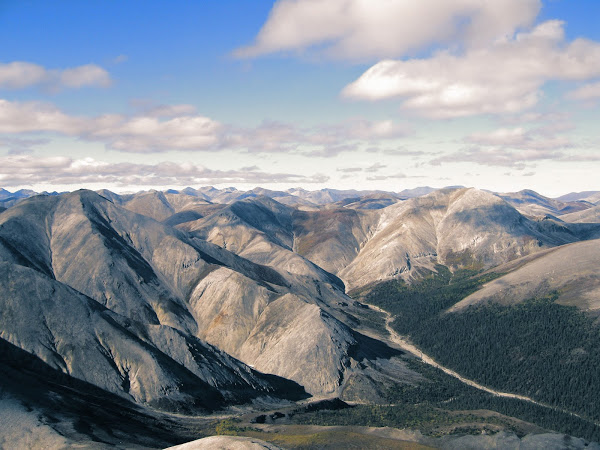
Duplicate the background layer again, this time using the LL channel as the mask and setting Hue to about 25 to add a warm orange tone to the light areas:
Midtone Enhancement
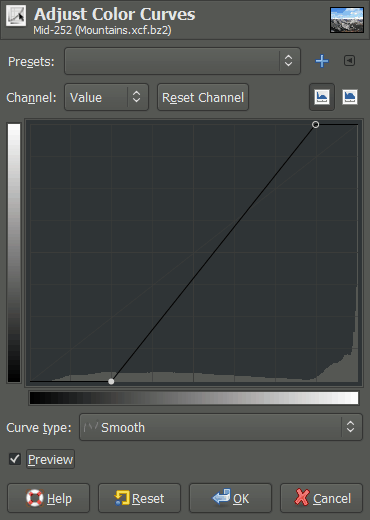
Duplicate the background layer, use the M channel as the mask, and apply a strong contrast enhancement with Colors → Curves. Because only the midtones are affected, it is less likely to blow out highlights or crush shadows.
Source & License
This tutorial is adapted from Pat David’s Luminosity Masks, licensed under the Creative Commons Attribution-ShareAlike 3.0 Unported License.