Layer Masks in Bree Photo
Note: Screenshots in this tutorial may show GIMP branding, but all menus, tool names, and keyboard shortcuts are identical in Bree Photo and the steps can be followed directly.
Layer masks are a fundamental image-editing tool. They let you control the opacity of different areas of a layer selectively, rather than adjusting the whole layer with the Opacity slider.
Most importantly, modifying transparency with a mask is non-destructive—the original layer pixels are not directly altered.
Adding a Mask to a Layer
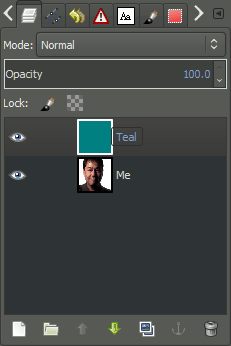
In the example below, the bottom layer is a base image and the layer above it is teal:
Right-click the layer you want to mask and choose Add Layer Mask…:
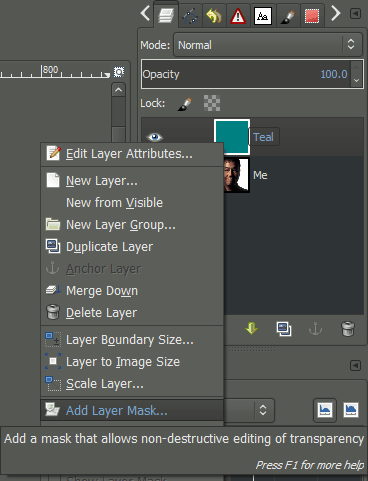
You can also use the menu: Layer → Mask → Add Layer Mask…
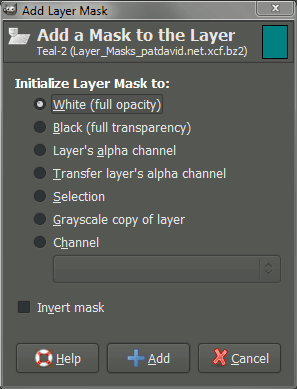
In the dialog that appears, choose White (full opacity):
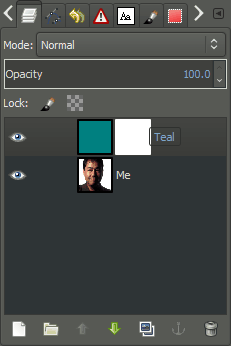
After adding the mask, the Layers panel displays a mask thumbnail to the right of the layer thumbnail:
Controlling Transparency with a Mask
When the mask is active, operations on the canvas affect the mask rather than the layer itself.
Use the Rectangle Select Tool to select roughly the top third of the image, set the foreground color to black RGB(0, 0, 0), and fill the selection with the Bucket Fill Tool:
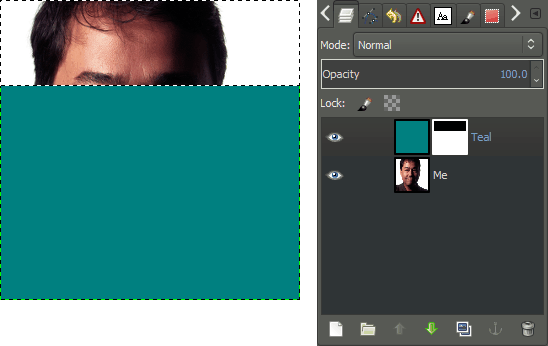
The areas of the layer corresponding to the black regions become fully transparent, revealing the layer below.
If you fill different areas of the mask with different shades of gray, you get different levels of transparency:
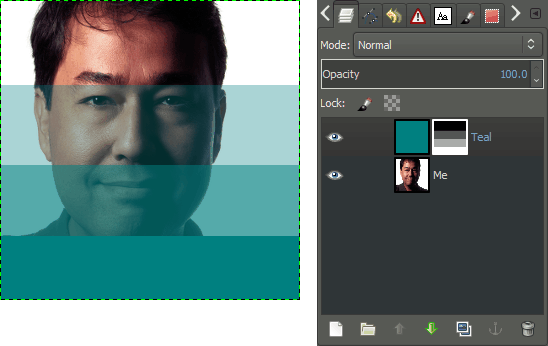
The closer a mask value is to white, the more opaque the layer; the closer to black, the more transparent.
Example: Selective Coloring
A classic use of layer masks is to turn a photo black and white while keeping only part of it in color.
Take this photo as an example:
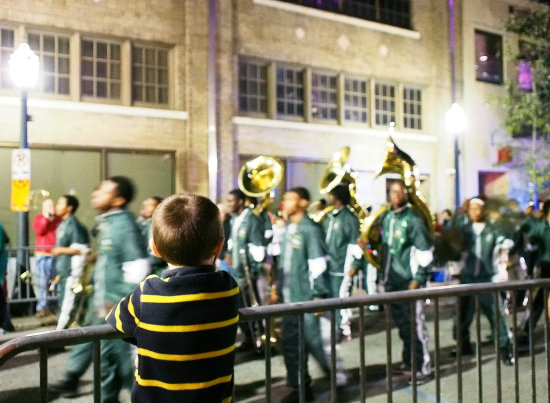
- Duplicate the background layer:
Layer → Duplicate Layer(orShift+Ctrl+D). - Desaturate the upper layer:
Colors → Desaturate → Desaturate…, using any method. - Add a mask to the desaturated layer, initialized to White (full opacity).
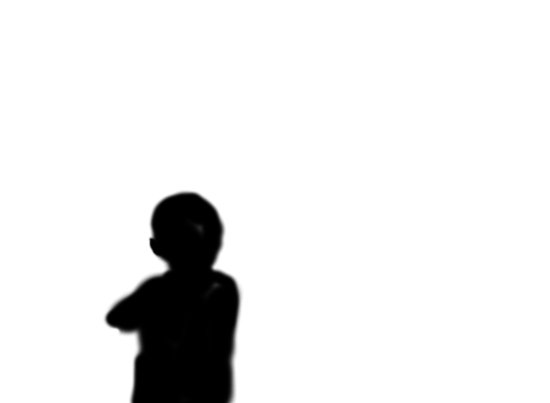
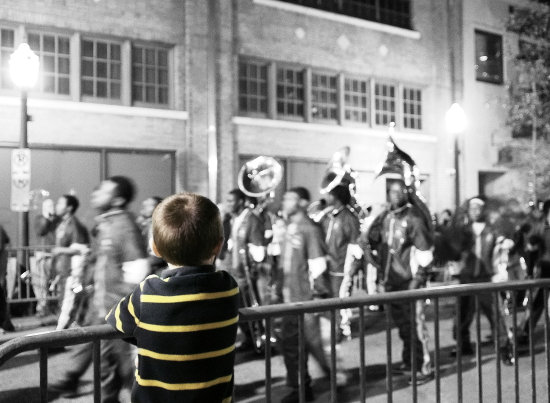
- Set the foreground color to black, select the Paintbrush Tool, and paint on the mask over the areas where you want color to show through (for example, the boy’s shirt and head).
The result looks like this:
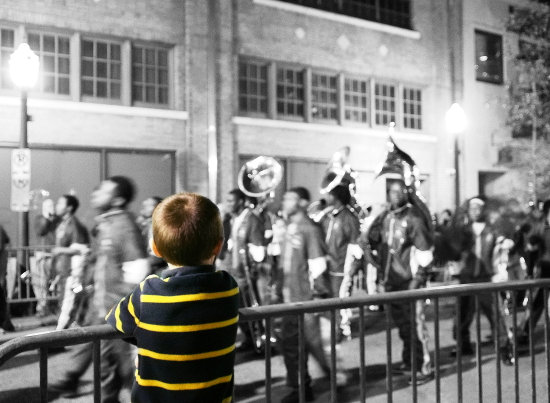
The corresponding mask looks like this:
If you want the color to be softer, paint on the mask with medium gray instead of pure black:
Further Reading
Source & License
This tutorial is adapted from Pat David’s Layer Masks, licensed under the Creative Commons Attribution-ShareAlike 3.0 Unported License.