Drawing a Heart Shape in Bree Photo
Note: Screenshots in this tutorial may show GIMP branding, but all menus, tool names, and keyboard shortcuts are identical in Bree Photo and the steps can be followed directly.
This tutorial explains how to use selections, fills, rotation, and flipping to draw a heart shape.
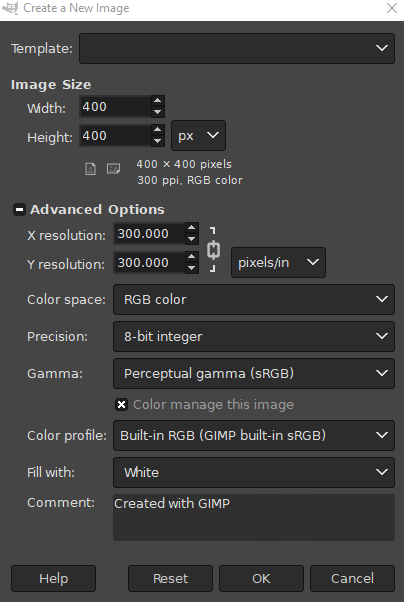
Step 1: Create a New Image
Choose File → New and create a 400×400 pixel image with a white background.
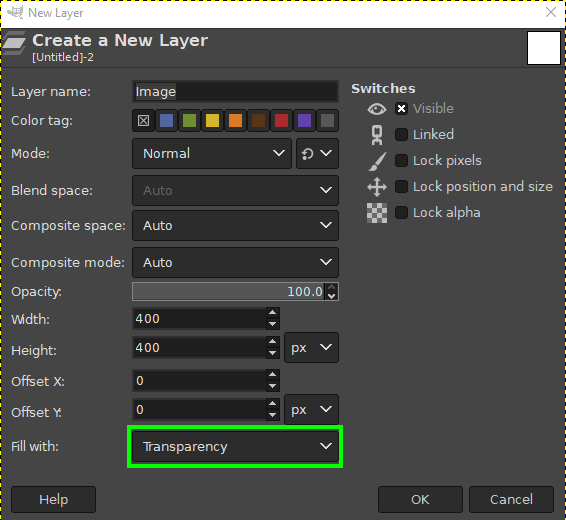
Step 2: Create a New Transparent Layer
Choose Layer → New Layer… and create a transparent layer.
Step 3: Draw the First Circle
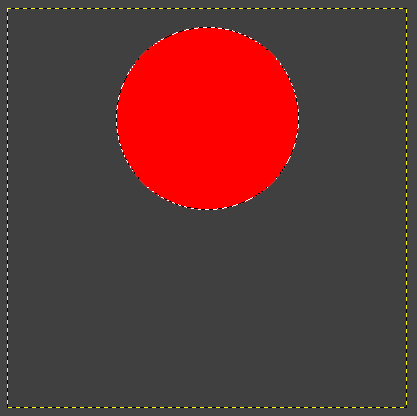
Select the Ellipse Select Tool (or press E). In the Tool Options, check Fixed → Aspect ratio and enter 1:1, then draw a circle.
Fill the selection with red.
Step 4: Deselect
Choose Select → None (or press Shift+Ctrl+A).
Steps 5–6: Add a Rectangle
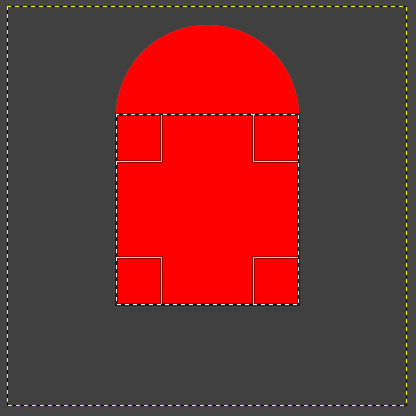
Create another transparent layer. Select the Rectangle Select Tool (or press R) and draw a rectangular selection downward from the middle of the first circle. Fill it with red:
Steps 7–8: Merge Layers
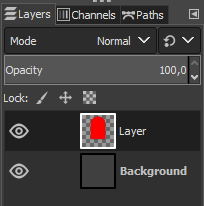
Deselect, then right-click the rectangle layer in the Layers panel and choose Merge Down to combine it with the circle layer.
Step 9: Rotate 45°
Select the Rotate Tool (or press Shift+R) and click the merged shape layer. Set Angle to 45 in the dialog.
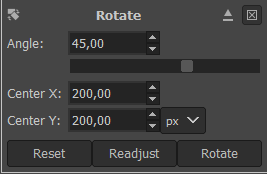
Tip: Make sure Direction is set to
Normal (Forward).
Steps 10–11: Duplicate and Flip
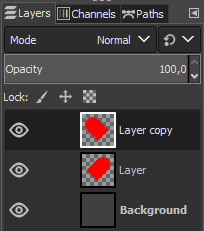
Duplicate the current shape layer in the Layers panel. Select the Flip Tool (or press Shift+F) and flip the duplicate horizontally:

Step 12: Align the Two Halves
Select the Move Tool (or press M) and move one of the layers so the two slanted edges align at the bottom:

Step 13: Merge
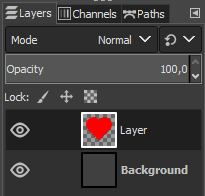
Right-click the top shape layer and choose Merge Down.
Final Step
Right-click the shape layer and choose Layer to Image Size to make the layer boundary align with the image boundary:

Source & License
This tutorial is adapted from the GIMP Team’s Heart Shape, licensed under the Creative Commons Attribution-ShareAlike 3.0 Unported License.