Floating Logo in Bree Photo
Note: Screenshots in this tutorial may show GIMP branding, but all menus, tool names, and keyboard shortcuts are identical in Bree Photo and the steps can be followed directly.
This tutorial shows how to use layer masks, Gaussian blur, bump maps, and drop shadows to create a logo that appears to float above its background.
Creating a New Image
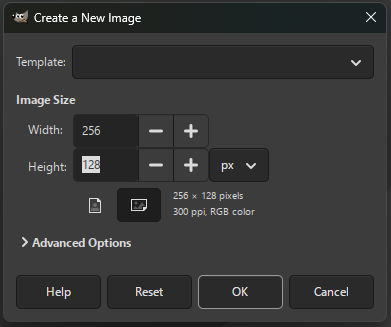
Choose File → New to create a new image. This example uses Width: 256 px and Height: 128 px:
Filling the Background with Black
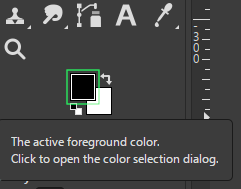
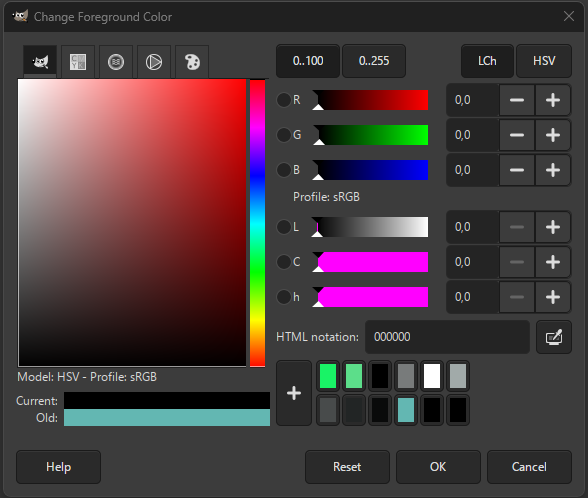
Set the foreground color to black, RGB(0, 0, 0). If it is not already black, click the foreground-color swatch in the toolbox to open the Change Foreground Color dialog:
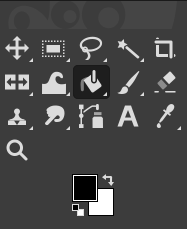
Select the Bucket Fill Tool and click on the canvas to fill it with black:
Adding Text
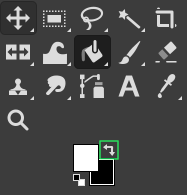
Switch the foreground color to white (you can press X to quickly swap foreground/background colors):
Select the Text Tool:
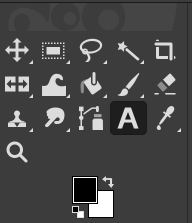
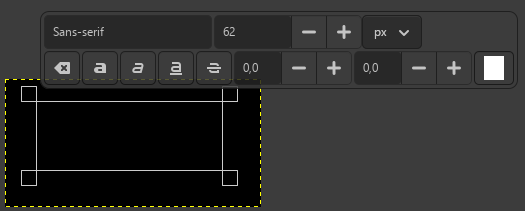
Drag on the canvas to create a text box:
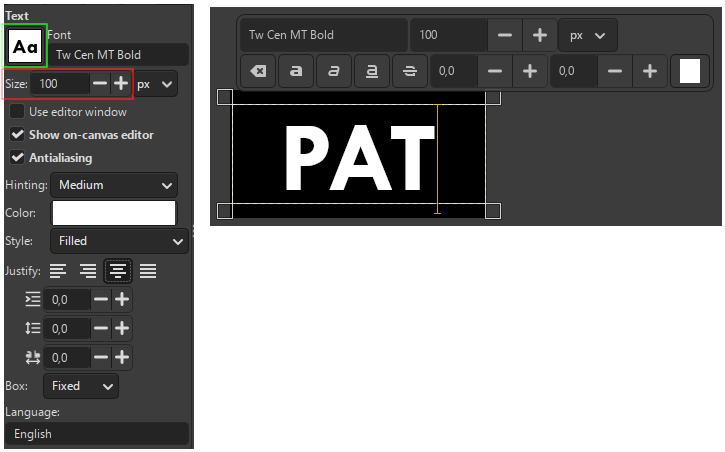
Type the logo text. In the Text Tool Options panel you can adjust font size and font. This example sets Size to 100px and the font to Tw Cen MT Bold:
Merging Visible Layers
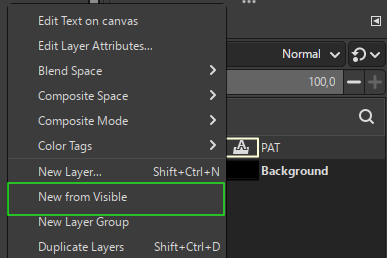
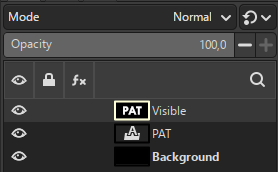
Right-click the text layer in the Layers panel and choose New from Visible (or Layer → New from Visible). This creates a new layer named Visible containing all currently visible content:
Blurring the Text
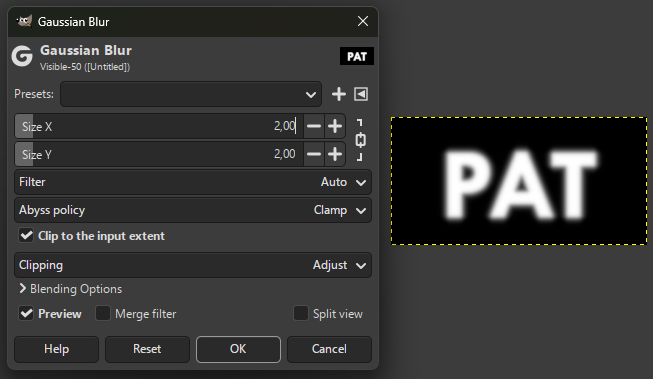
Make sure the Visible layer is active, then choose Filters → Blur → Gaussian Blur. This example sets Blur Radius to 7:
Adding a Color Layer
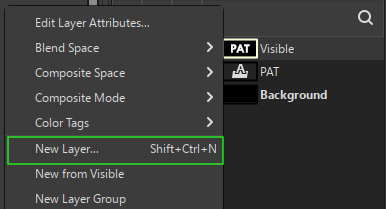
Create a new layer: Layer → New Layer…:
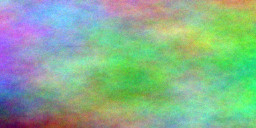
Then choose Filters → Render → Noise → Plasma and generate a plasma texture with the default settings:
Applying a Bump Map
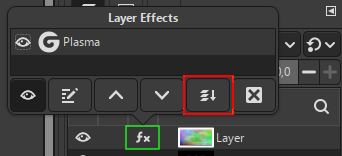
Click the fx icon on the plasma layer, then click Merge all active filters down:
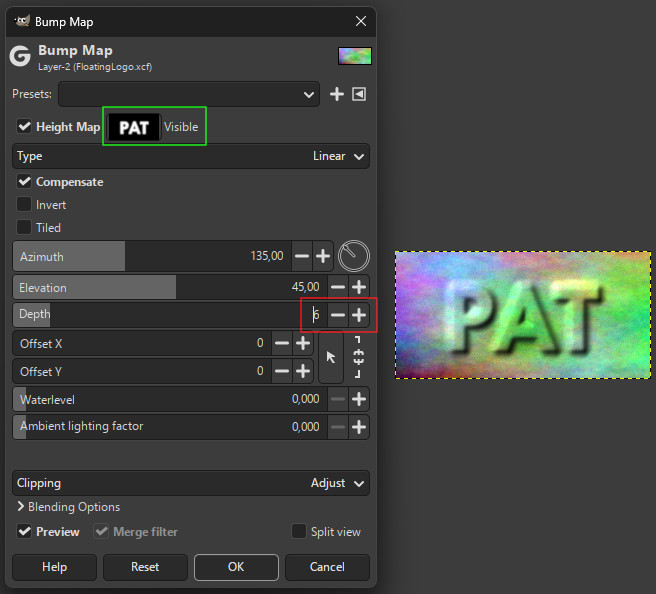
Then choose Filters → Map → Bump Map. In the Bump Map dialog, set Height Map to the Visible layer and increase Depth appropriately (this example uses 6):
Applying a Layer Mask
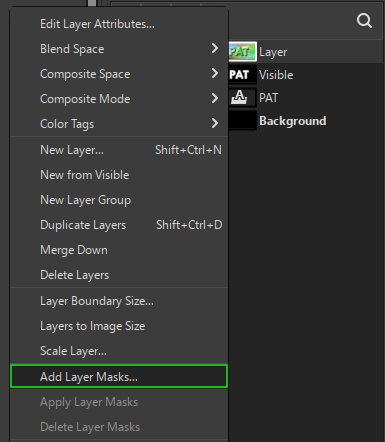
Add a layer mask to the plasma layer: Layer → Mask → Add Layer Mask…, and choose White (full opacity) for the initialization:
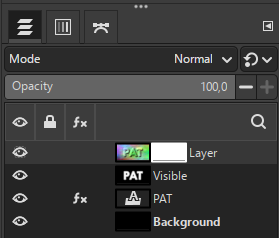
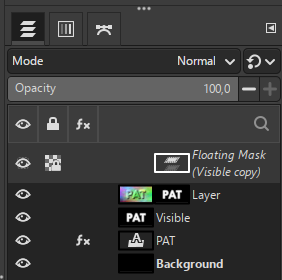
Activate the Visible layer, press Ctrl+C to copy; then click the plasma layer’s mask thumbnail, press Ctrl+V to paste; finally choose Layer → Anchor Layer to anchor the floating selection to the mask. The image should now show only the plasma texture forming the text:
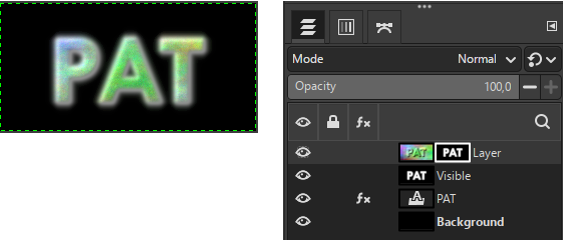
Adding a Background and Refining Edges
Create a new layer beneath the plasma layer and fill it with a color of your choice as the background:
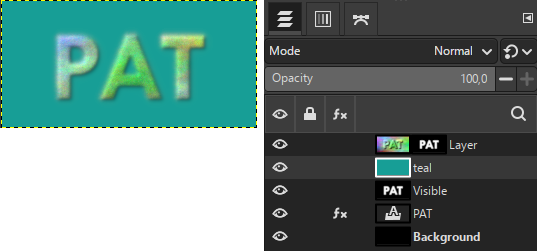
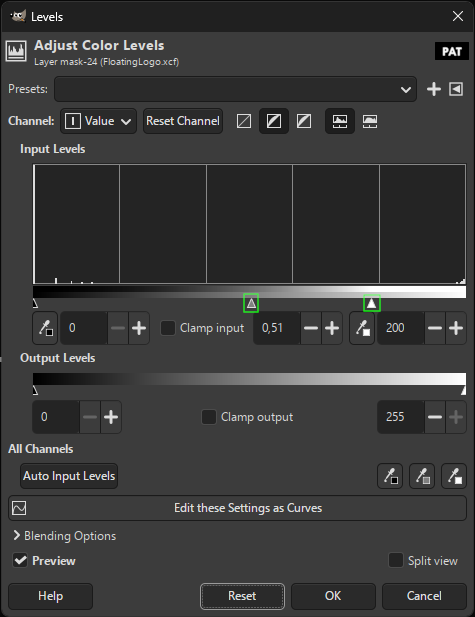
Activate the plasma layer’s mask and choose Colors → Levels. Adjust the Gamma and White point sliders to make the text edges crisp but not overly jagged:

Adding a Drop Shadow
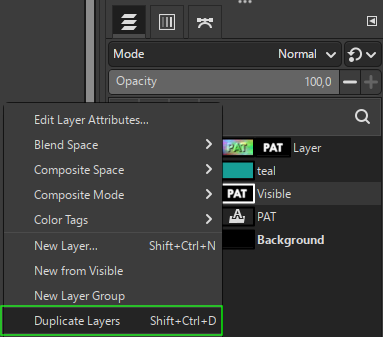
Duplicate the Visible layer (Layer → Duplicate Layer or right-click Duplicate Layer):
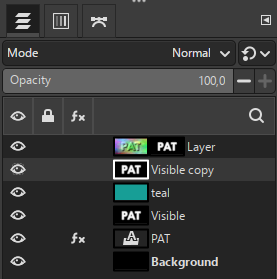
Move the duplicate below the plasma layer but above the background layer:
With the duplicate active, choose Colors → Invert, then Layer → Transparency → Color to Alpha… to turn the white areas transparent.
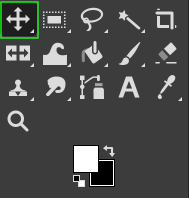
Select the Move Tool, hold Shift, and click on the canvas to constrain movement to the currently active layer. Offset the shadow layer slightly down and to the right:
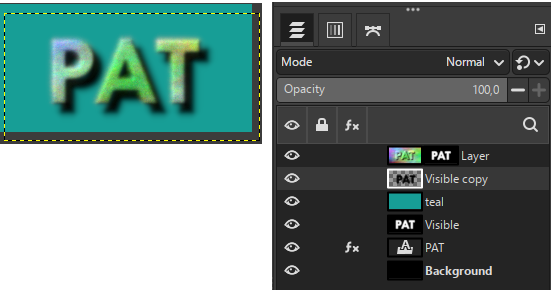
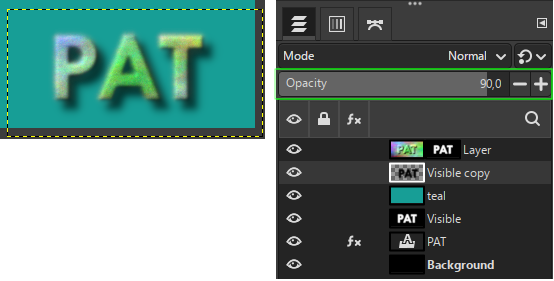
Finally, apply Filters → Blur → Gaussian Blur again (radius around 2.5) and lower the layer opacity somewhat (for example, to 90%):
Final Result
When finished, your logo should have a three-dimensional, drop-shadowed appearance:

Because a layer mask is used, you can freely change the background and the effect will still hold:

You can also export as PNG to preserve the transparent background:

Source & License
This tutorial is adapted from Pat David’s Simple Floating Logo, licensed under the Creative Commons Attribution-ShareAlike 3.0 Unported License.