
启动并选择录制模式Launch and pick a capture mode
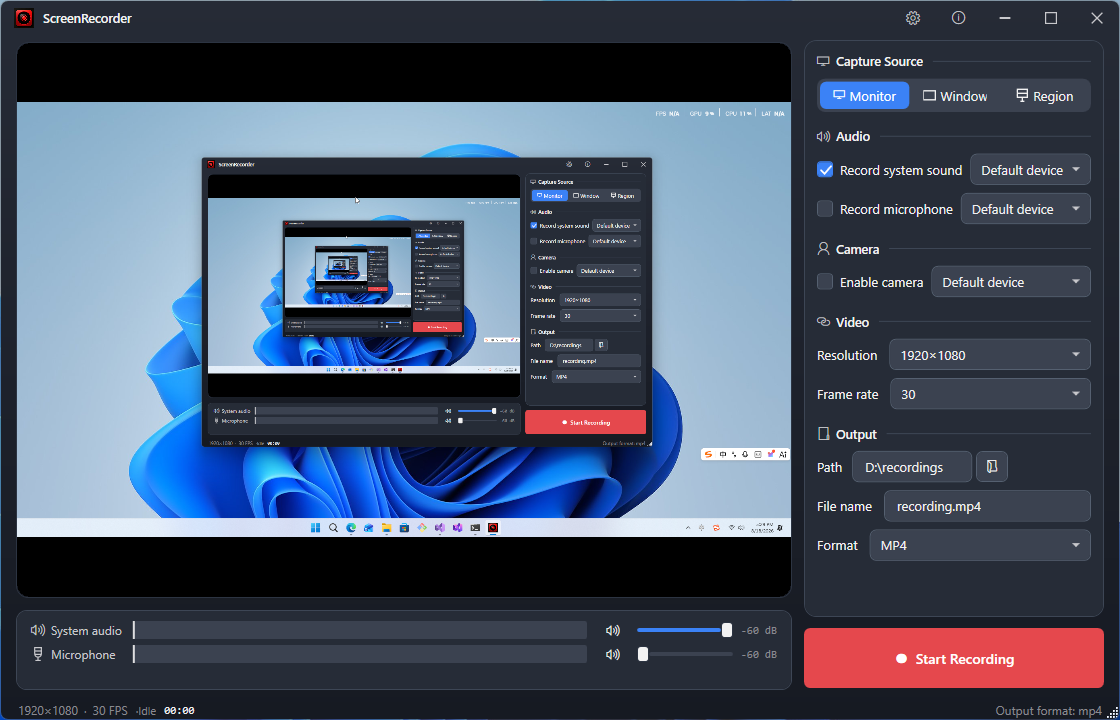
启动后,在右侧控制面板「采集」分组中选择录制模式:显示器 Monitor(录制整个屏幕)、窗口 Window(只录制某个窗口)、区域 Region(拖拽框选屏幕的一块区域)。本教程以「显示器」为例。首次启动时会弹出欢迎窗口,点击「阅读教程」即可打开本网页。 On the "Capture" section of the right control panel, pick a mode: Monitor (record the whole screen), Window (record a single window) or Region (drag to select an area of the screen). This guide uses "Monitor". A welcome window appears on first launch — click "Read tutorial" to open this page.
窗口模式:选择目标窗口Window mode: pick a target window
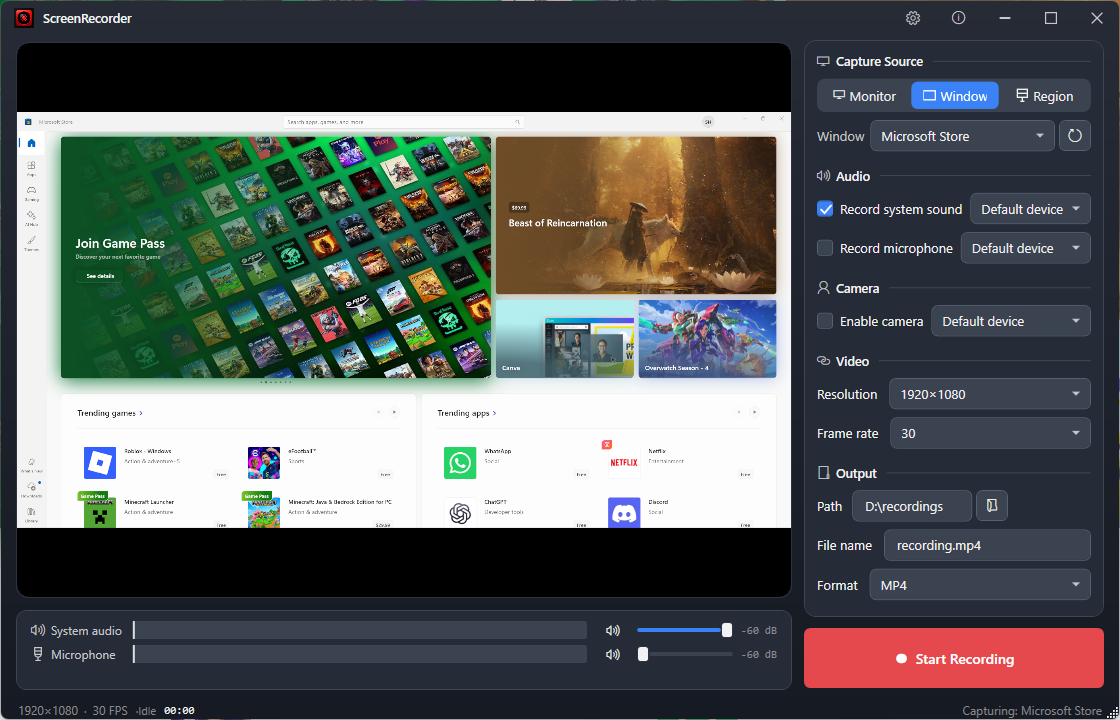
切换到「窗口」模式后,会显示窗口下拉框与刷新按钮。从下拉框选择要录制的窗口,预览画面随即切换为该窗口的内容;列表中找不到目标窗口时,点击刷新按钮重新枚举。 Switching to "Window" mode reveals a window dropdown and a refresh button. Pick the window to capture and the preview switches to its contents; if your target is missing, hit refresh to re-enumerate.
配置音频:系统声音与麦克风Audio: system sound & microphone
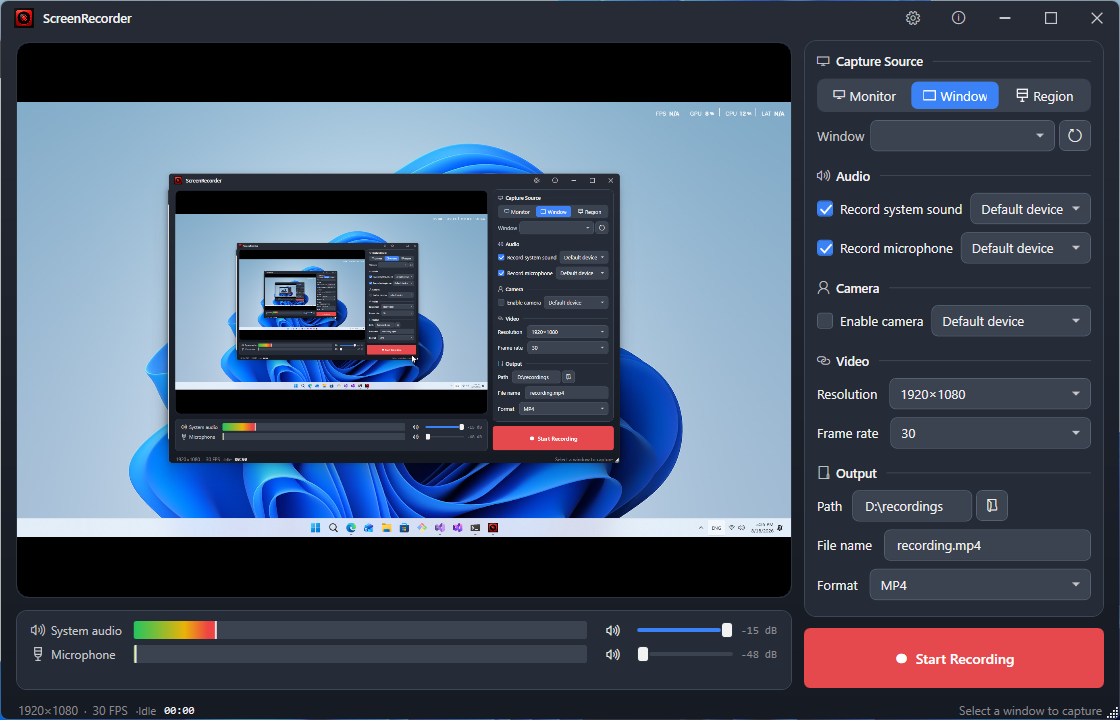
在右侧「声音」分组中,勾选「录制系统声音」「录制麦克风」并各自选择音频设备。下方的两条 VU 音量表实时显示电平:绿色区间为正常、黄色偏大、红色接近爆音;白色竖线为峰值保持,右侧 dB 读数精确显示分贝值。每个声道都配有静音开关与音量滑块。 In the "Audio" section, check "record system audio" and "record microphone" and pick a device for each. The two VU meters show live levels: green is normal, yellow is loud, red is near clipping; the white line holds the peak and the dB readout shows the precise level. Each channel has a mute toggle and a volume slider.
摄像头:开启画中画Camera: enable picture-in-picture
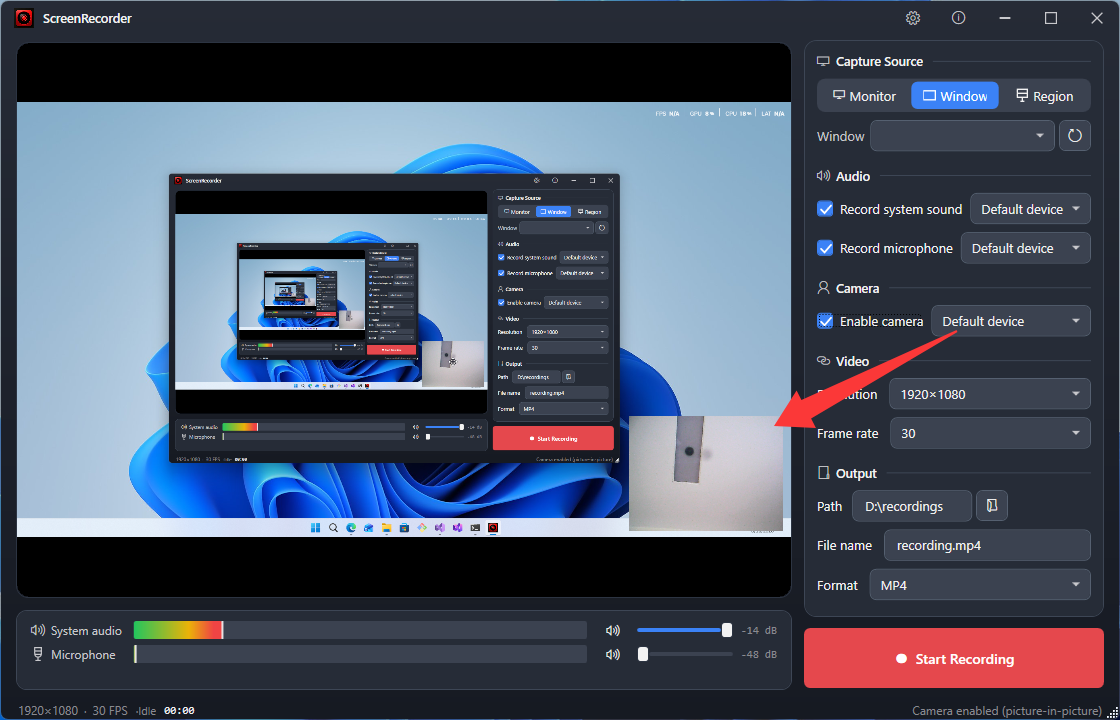
勾选「启用摄像头」后选择摄像头设备,画面将作为画中画叠加进录制画面。不勾选则完全不会请求摄像头权限。 Check "Enable camera" and pick a device — the feed is overlaid into the recording as picture-in-picture. When unchecked, no camera permission is ever requested.
视频与输出设置Video & output settings
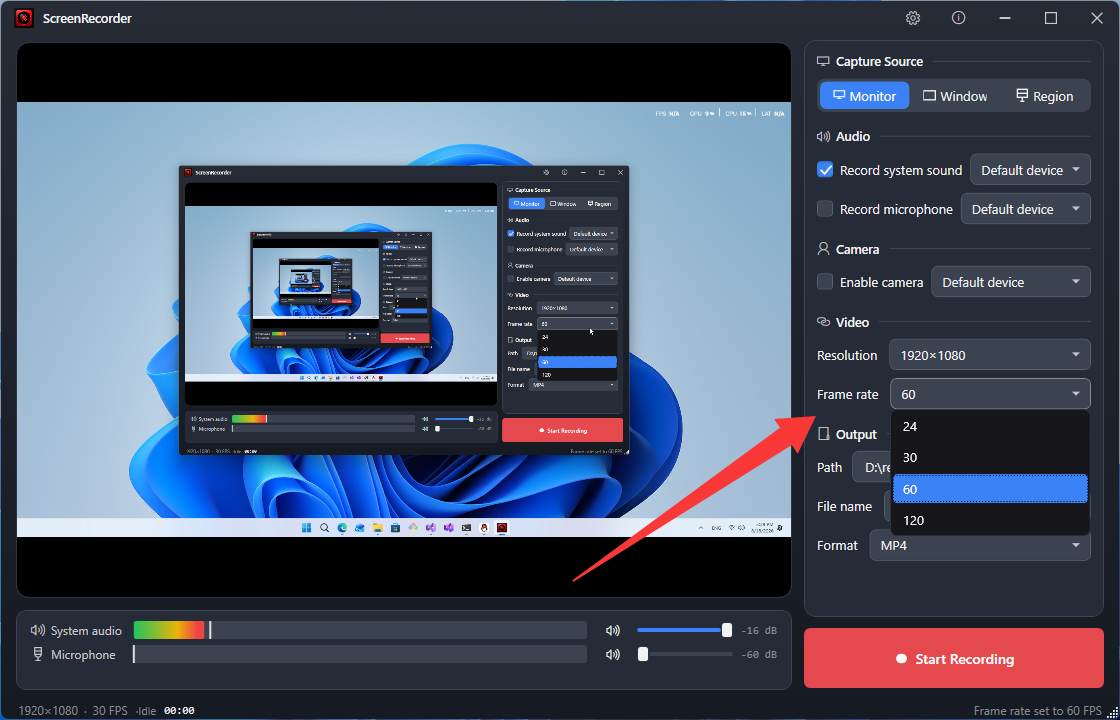
「视频」分组可选择分辨率(1280×720 至 3840×2160)与帧率(24 / 30 / 60 / 120)。「保存」分组设置输出路径(默认 D:\recordings,点「浏览」选择)、文件名(默认 recording)与格式(MP4 / MKV / MOV / FLV / WebM)。
The "Video" section sets the resolution (1280×720 up to 3840×2160) and FPS (24 / 30 / 60 / 120). The "Output" section sets the save path (default D:\recordings, use Browse), the file name (default "recording") and the format (MP4 / MKV / MOV / FLV / WebM).
开始录制与停止Record and stop
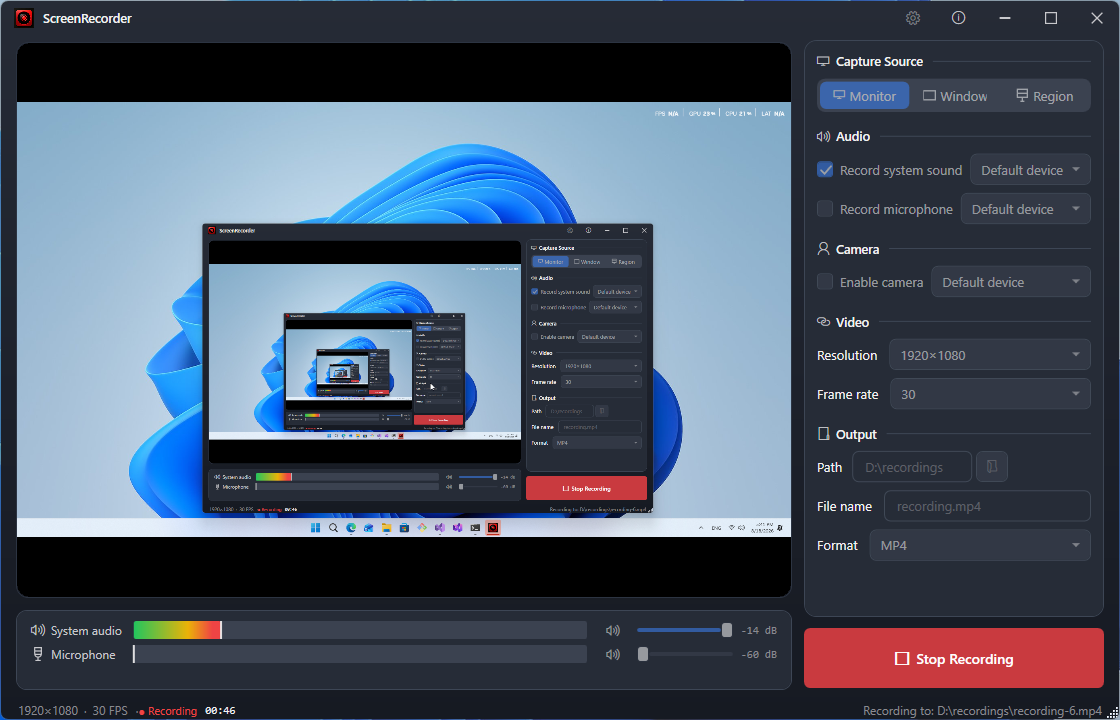
点击右下角的大红色「开始录制」按钮,窗口自动最小化、任务栏图标闪烁提示;预览卡片左上角出现红点计时浮标,状态栏同步显示「● 录制中」与耗时。再次点击同一按钮(或从任务栏回到窗口点击)即停止录制。文件按 文件名-1、-2… 自动去重,不会覆盖旧文件。 Click the big red "Start recording" button — the window minimizes, the taskbar icon flashes, a red-dot timer badge appears on the preview and the status bar shows "● Recording" with the elapsed time. Press the same button again (or restore from the taskbar) to stop. Files are auto-deduplicated as name-1, name-2…, so old recordings are never overwritten.
区域录制Region recording
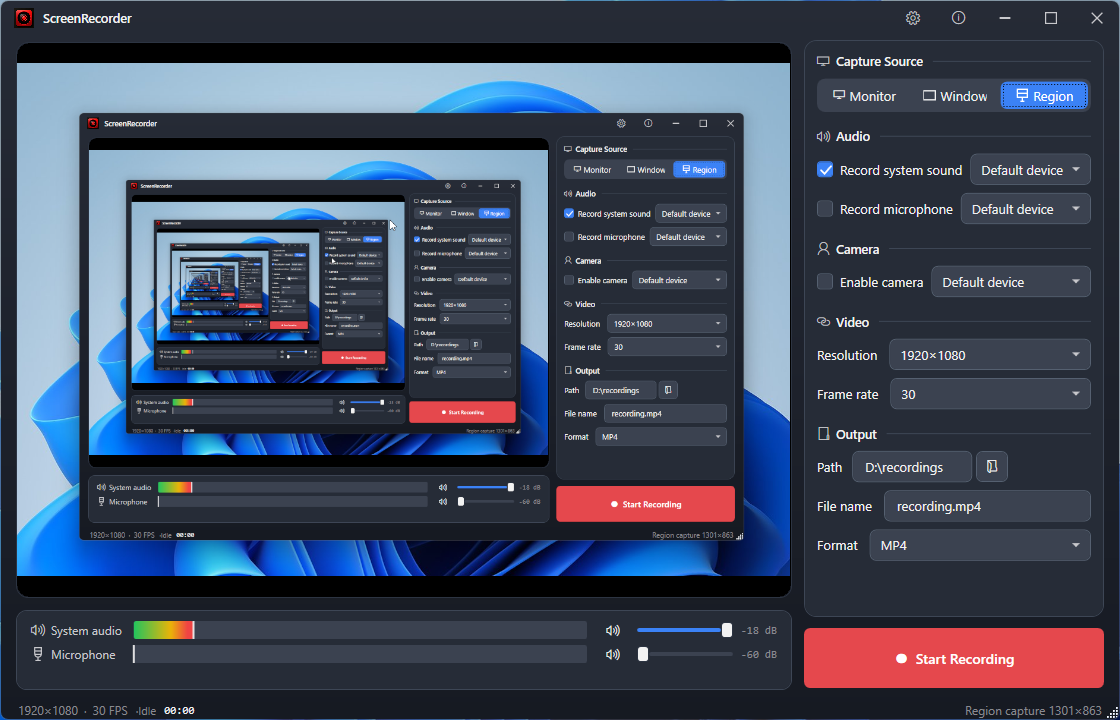
- 选择「区域」模式Select "Region" mode.
- 屏幕出现十字光标遮罩,拖拽框选要录制的区域A crosshair overlay appears — drag to select the area.
- 松开鼠标即开始预览该区域,可照常开始录制Release to preview the region, then record as usual.
设置:主题 / 语言Settings: theme / language
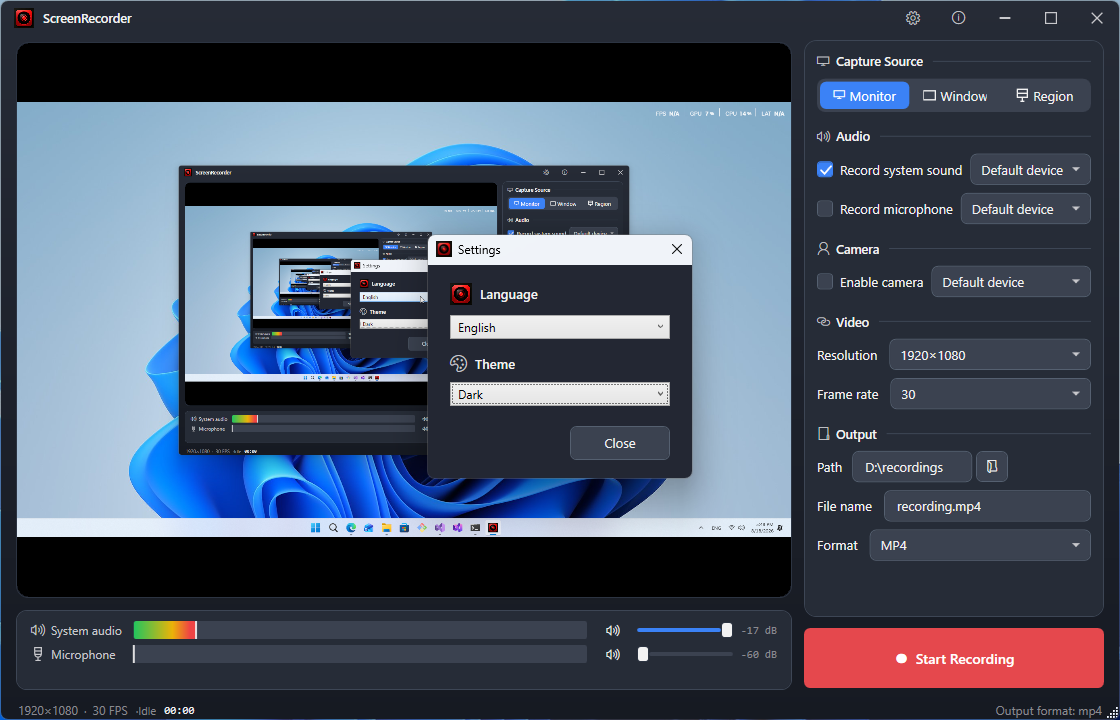
- 点击标题栏右侧「设置」齿轮按钮Click the Settings gear in the title bar.
- 主题:选择「深色」或「浅色」,即时生效Theme: pick Dark or Light — applies immediately.
- 语言:选择 中文 / English / 日本語 / Русский / Deutsch,即时生效并记住选择Language: pick 中文 / English / 日本語 / Русский / Deutsch — applies immediately and is remembered.
配置与命令行Config & command line
- 配置文件位于
%APPDATA%\ScreenRecorder\config.json,修改 ObsInstallDir 可指向非默认位置的 OBS 安装目录The config lives at%APPDATA%\ScreenRecorder\config.json; edit ObsInstallDir to point to a non-default OBS install. - 通过
--config-dir <目录>启动参数可指定其他的配置目录Launch with--config-dir <dir>to use a different config directory. - 启动时传入一个文件路径,将自动填入「文件名」输入框Passing a file path on the command line pre-fills the file name box.
C:\Program Files\obs-studio,或由配置指向)。The app is built on the libobs core and needs OBS Studio installed (default C:\Program Files\obs-studio, or wherever the config points).常见问题FAQ
是。应用基于 libobs(OBS 内核)开发,需要本机已安装 OBS Studio。默认读取 C:\Program Files\obs-studio,非默认安装位置请在 config.json 中修改 ObsInstallDir。
Yes — the app is built on libobs and needs OBS Studio installed. It defaults to C:\Program Files\obs-studio; for another location set ObsInstallDir in config.json.
分辨率 1280×720 / 1920×1080 / 2560×1440 / 3840×2160,帧率 24 / 30 / 60 / 120;区域模式由选区大小决定。
Resolutions 1280×720 to 3840×2160 and 24 / 30 / 60 / 120 FPS; region mode follows the selection size.
MP4 / MKV / MOV / FLV / WebM。默认 MP4,播放兼容性最好。
MP4 / MKV / MOV / FLV / WebM. MP4 (the default) is the most compatible.
不会。同名文件会自动命名为「文件名-1、-2」…,绝不静默覆盖。
No — duplicates are saved as name-1, name-2… and never silently overwritten.
录制开始后窗口自动最小化且任务栏图标闪烁提示。点击任务栏图标回到窗口,再按一次红色录制按钮即可停止。
The window auto-minimizes and the taskbar flashes. Click the taskbar icon to restore, then press the red button again.
检查「声音」分组:是否勾选了要录制的源、设备是否选对;观察 VU 音量表是否跳动、静音是否被打开、系统音量是否为 0。
Check the Audio section: is the source checked and the device correct? Watch the VU meter — is it moving, is mute on, is the system volume at zero?